
Table of Contents
A5 & A3S Custom Community Firmware
NOTE: This page only talks about the firmware for the main motherboard. There is firmware available for the LCD module as well, but that is not important unless you want to use babystepping. The process for updating the LCD firmware is covered separately here.
The original factory motherboard firmware that this printer was shipped with was … terrible!
- The temperature calibration was very inaccurate (+10ºC!)
- The extruder calibration was under-extruding by 14%
- The default movement speeds were far too fast for the large print bed
JGAurora previously refused to supply the firmware open source files for this printer until only very recently, so we reverse engineered the configuration to create our own community firmware. This firmware works exactly the same as the factory firmware, except for:
- Smoother printer movement for better surface printing quality
- Faster and more accurate homing procedure
- Much better calibration of extruder motor for more accurate filament delivery
- Much more accurate calibration of the hot end temperature sensor
- Fewer bugs because of latest version of Marlin software (no more random printer resets in the middle of a print!)
- Full source code to enable mods and enhancements
Firmware Download
You can download the latest version of the community firmware for the A5 and A3S here: Download A5 firmware Download A3S firmware
If you wish to go back, you can download the original factory firmware here.
Firmware Installation Instructions
To install custom firmware:
- Unplug AC power cable from printer.
- Download and install arduino IDE software from https://www.arduino.cc/en/Main/Software
- Close all other programs that talk to the serial port, like Cura and JGCreat.
- Unzip the firmware download, and open the “Marlin.ino” file in the Arduino IDE. Make sure the folder the firmware files are all located in is “Marlin” with a capital M, and make sure the selected tab in the Arduino IDE says “Marlin” and not something like “conditionals.h”.
- Plug in A5 to your computer via USB cable
- IMPORTANT: Unplug the 8-pin LCD panel header connector on your printer. The LCD should turn off completely. This is the found underneath the LCD, and can be accessed from underneath the printer without removing any screws. Remember where it goes to put it back after flashing.
- In the Arduino IDE, under the Tools menu, set:
- – Board to “Arduino/Genuino Mega or Mega 2560”
- – Processor to “Atmega 2560 (Mega 2560)”
- – COM Port set to your 3D printer’s com port: To find your COM port, unplug the printer, and see which com ports are currently listed. Plug the printer USB cable in, and see if any new COM ports appear. Those will likely be your printer. If you can’t find the right com port, or your device is not detected, you may need to install drivers for the CH340 serial to USB interface chip in the printer. Mac CH340 serial drivers are here. PC CH340 serial drivers are here. On a mac running high-sierra, I had problems with those mac drivers, and I had a more reliable connection with the mac drivers available for purchase (unfortunately… not free, but someone gotta eat) here.
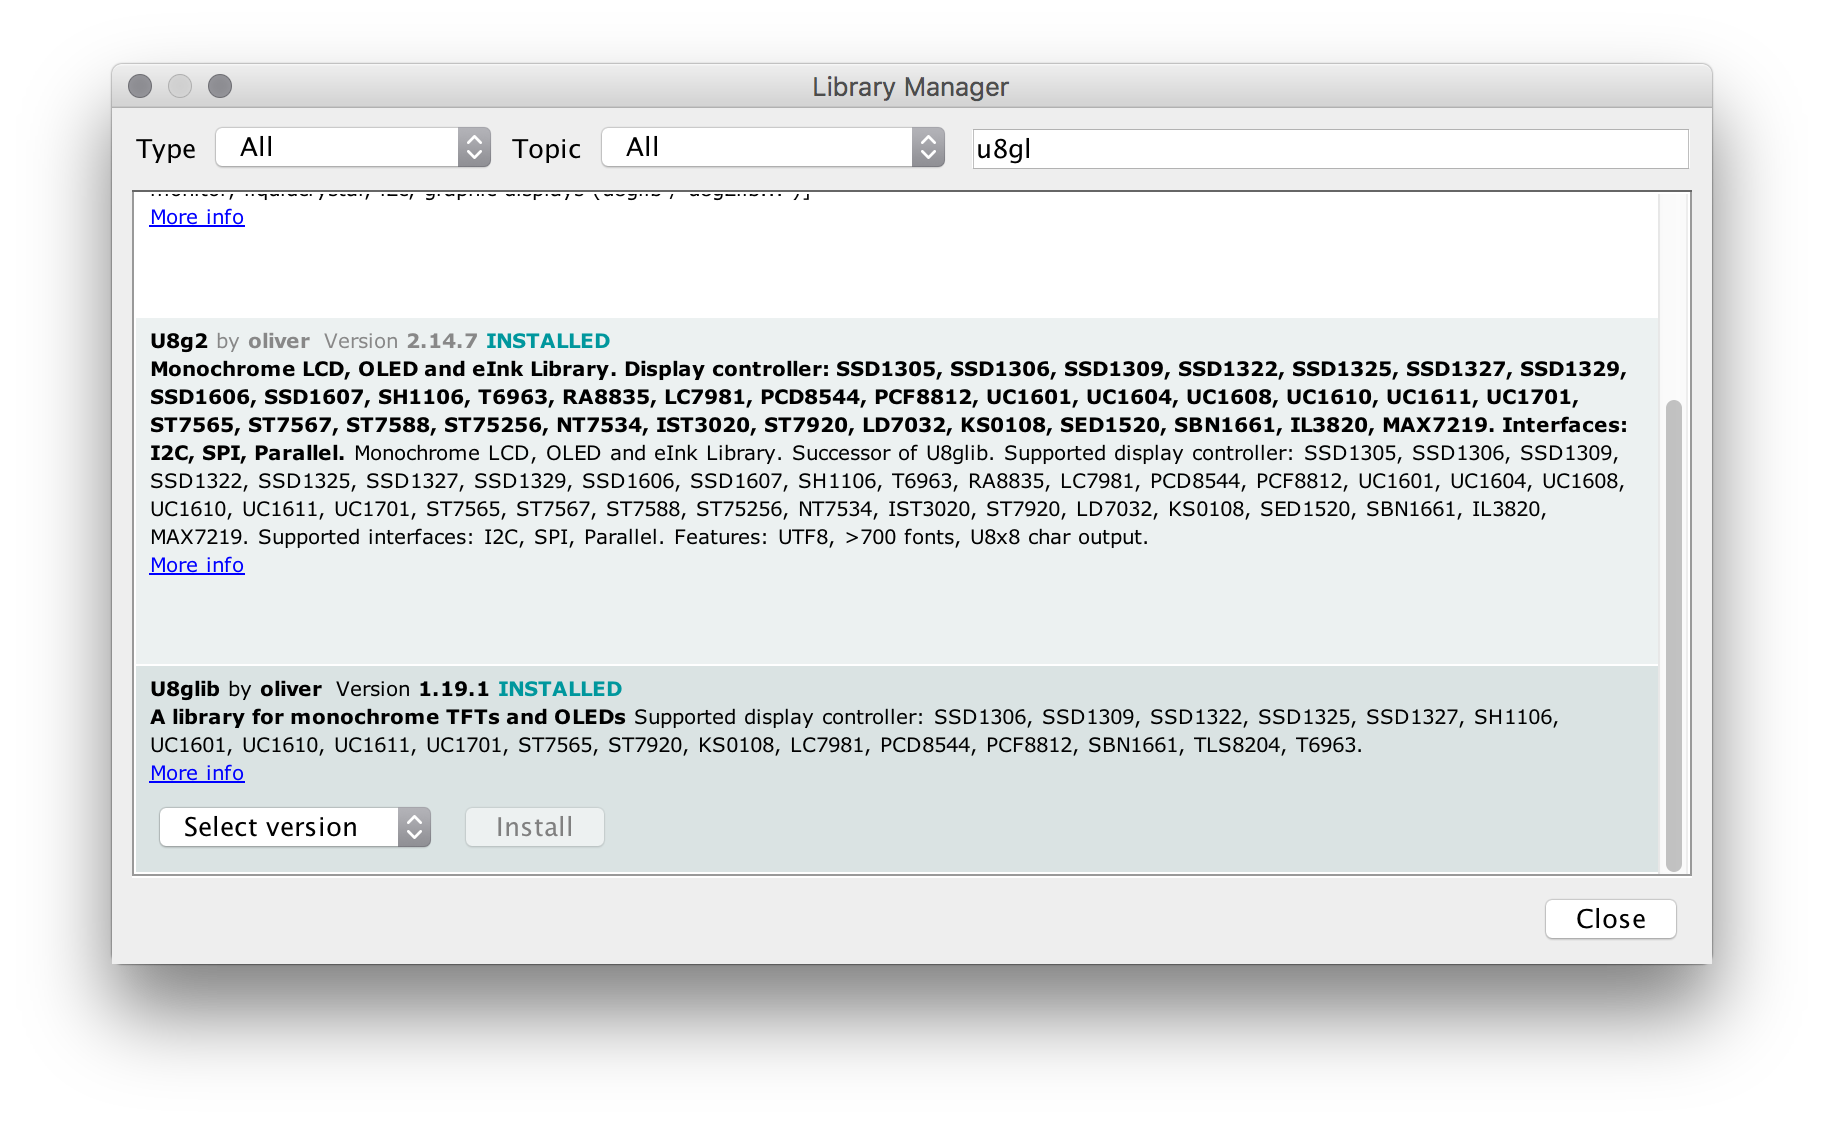
- Install the u8glib library, using the library manager found under the menu “Sketch → Include Library → Manage Libraries”. (watch this video for a demonstration)
- Triple check you’ve unplugged the 8-pin ribbon cable going to the printer’s LCD.
- In the Arduino software, choose upload, under the sketch menu.
- Wait for the firmware to finish uploading.
- Plug the LCD connector back in.
- In the arduino IDE, click on the “Tools” menu, and then click on “Serial monitor”. This will open up a white window. Set the options for baud rate to “250000”, and change the line ending to “carriage return”.
- In the input box, type the following GCode commands: type M502, then press return, then type M500, and press return again. This step is used to initialise the EEPROM for the new firmware.
- Celebrate! You did it!

- If you want to upgrade your LCD firmware as well (optional) go here next.
Troubleshooting
- If you end up with an error “Conditionals.h:27: error: #error “Old configurations? Please delete all #include lines from Configuration.h and Configuration_adv.h.” - please DELETE all firmware from your computer, and download the ZIP file again, and follow the instructions closely. See step 4 in particular.
- If you get the error “avrdude: stk500v2_ReceiveMessage(): timeout” or “avrdude: stk500v2_getsync(): timeout communicating with programmer” the bootloader may have been erased on your motherboard. Please see this page for advice on what to do from here.
- If you have other problems compiling, please re-download, then extract the zip to a new folder that is not on the desktop, and try again.
VIDEO of Installation process
Credits & Dev
Firmware Changelog:
Rev C ( 28th Aug) Made a small code change to solve arduino 1.8.6 bug.
Rev C (21st Jan 2018):
- More accurate hot-end temperature calibration.
- Bed temperature calibration verified.
- Extruder step calibration tweaked (-2%)
Rev B (9th Jan 2018):
- More accurate Extruder step calibration
- Faster homing
- EEPROM Enabled (run Gcode M502 then M500 after flashing to update values from firmware)
- More accurate temperature control of hotend nozzle, with PID control enabled and tuned.
- Print Counter Enabled (M78 gcode command)
- Noisy z-axis issue fixed.
Notes
- Bed is still “bang/bang” controlled.
- Preliminary support for additional black and white external graphical LCD control modules (NOT the internal one)
- Discussion re serial baud rate – in this firmware connection rate is still set at 250000, as this is required for front LCD to communicate with mainboard.
This firmware was prepared from scratch using the latest Marlin base firmware, as JGAurora disrespect the GPL by refusing to provide their modified Marlin firmware!
The current firmware team includes: Telli Mantelli, Kris Waclawski, Samuel Pinches & Michael Gilardi. Please contact one of these people if you have questions, suggestions or feedback! :)
