Table of Contents
Fixing Faulty Temperature Readings
A frequent problem on the A5 that people seem to be encountering is faulty temperature readings. This can be caused by several things:
- Poor or loose connections
- Damaged thermistor (bed or nozzle)
- Fried motherboard sensor port
The first step is to identify the cause of the problem. You need a multimeter to do this (if you don't have one, buy one here), as we will be checking several items.
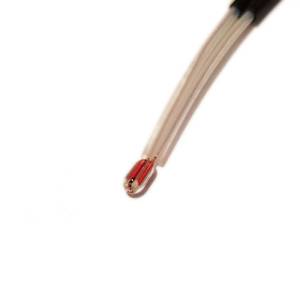
The thermistors are the sensors responsible for measuring the temperature of the hot-end and of the heated bed. The thermistors used on the A5 and A3S are 100k thermistors. The y look like this:
Diagnosing the problem
1. Testing the thermistor function: First, unplug the thermistor from the motherboard, and measure the resistance of the thermistor. It should measure around 100K ohms at room temperature.
2. Testing the connection: Check that you get the same reading at the thermistor itself, and also at the end of the cable that plugs right into the motherboard.
3. Testing the motherboard port function: Connect to the motherboard using pronterface. You should see the temperature indicated in the bottom right corner. The temperature should increase if you put your finger on the thermistor, and the values should be reasonable.
Fixing the problem
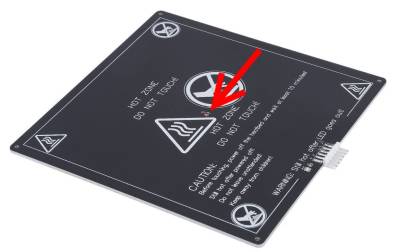
1. If the thermistor is damaged, you will need to contact JGAurora for a new nozzle thermistor, or a new heated bed. It is easiest to replace the entire thermistor and cable assembly rather than just soldering in a new thermistor.
2. If the wires are broken, repair or replace the fault, and test again.
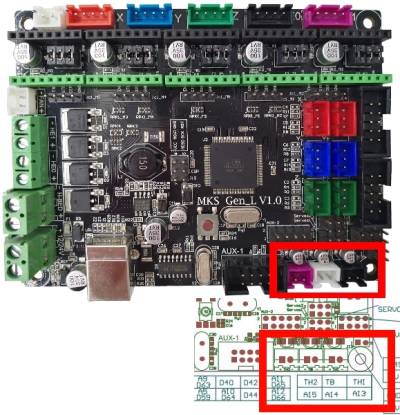
3. If the temperature on the display is still incorrect, the port on the motherboard may be damaged. The MKS Gen L motherboard has 3 temperature sensing ports: 
- TH1 - the port for the hot end temperature reading. This is “TEMP_0_PIN” in the firmware.
- TB - the port for the bed temperature reading This is “TEMP_BED_PIN” in the firmware.
- TH2 - a spare port for printers with dual nozzles. This is “TEMP_1_PIN” in the firmware.
If you have two ports broken, the only option is to replace the entire motherboard. However, if only one of the ports is damaged, what we can do is plug the thermistor into the spare port TH2, and tell the printer to use that port instead, by modifying the firmware.
First, you need to be comfortable with installing the custom firmware on the A5.
Next, open the marlin firmware folder. Choose the file “pins_RAMPS.h” and open that file. We are looking for the section:
//
// Temperature Sensors
//
#define TEMP_0_PIN         13   // Analog Input
#define TEMP_1_PIN         15   // Analog Input
#define TEMP_BED_PIN       14   // Analog Input
All you need to do, is swap the TEMP_1_PIN number, for the number of the broken port. Then, reflash the firmware. Hopefully now you will have a correct temperature measurement displayed on your printer!
For more info on the thermal safety systems in the Marlin Firmware, see this page.

